Etching @ The Art Academy
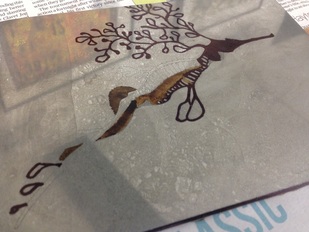
What a great technique - the plate can be made of anything you find on the ground (as long as it's quite flat), and you build up an image out of textures. It's very forgiving, and cheap and easy to make a plate - I really enjoyed this class!
INSPIRATION
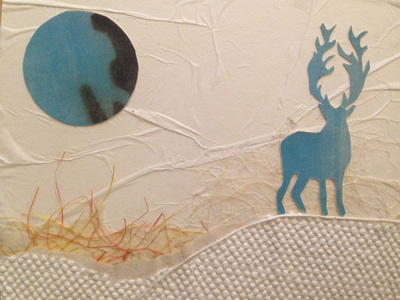
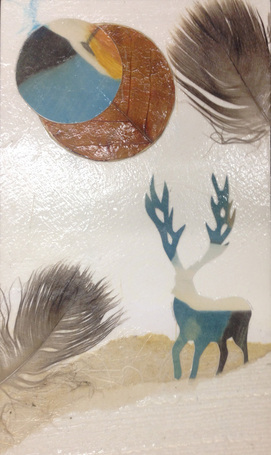
I kept my deer theme from the etching class, and, well, winter is just around the corner, so I was going for a snowy midnight scene.
INSPIRATION
I kept my deer theme from the etching class, and, well, winter is just around the corner, so I was going for a snowy midnight scene.
MAKING THE PLATE
From tissue paper to feathers, leaves, wallpaper and cardboard, you can use pretty much anything to make a collagraph plate. Start with some matt board, and using cheap white glue, simply stick on the textures in the shape you want. Once you've finished your design leave the glue to dry, and then coat the piece with varnish. Use quick-drying wood varnish, that should dry in about half an hour. Coat the plate twice: front back and sides. Et voila - a plate ready to run through a press!
INKING
First run the plate through the press with some newsprint on top - this just makes sure it's all flattened down before you start. Then there are a few stages to inking:
- Squeeze out a dollop of ink on the glass
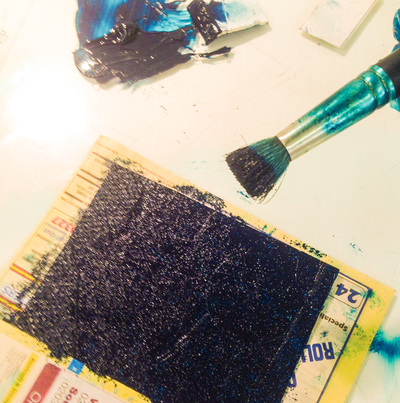
- With a small rubber squeegee or just some artboard, spread the ink onto the plate with a medium layer
- Take a bristly brush and with circular motions, work the ink into the plate
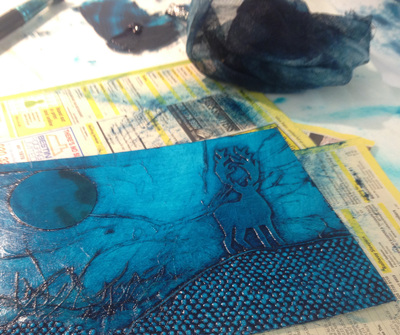
- Roll up some scrim, and wipe off the ink. You can wipe off a little more in places which will make part of the image lighter
- finish off with some tissue paper, which you gently rub over the surface. The final plate should look quite smooth, and feel gently sticky.
DIFFERENT TECHNIQUES
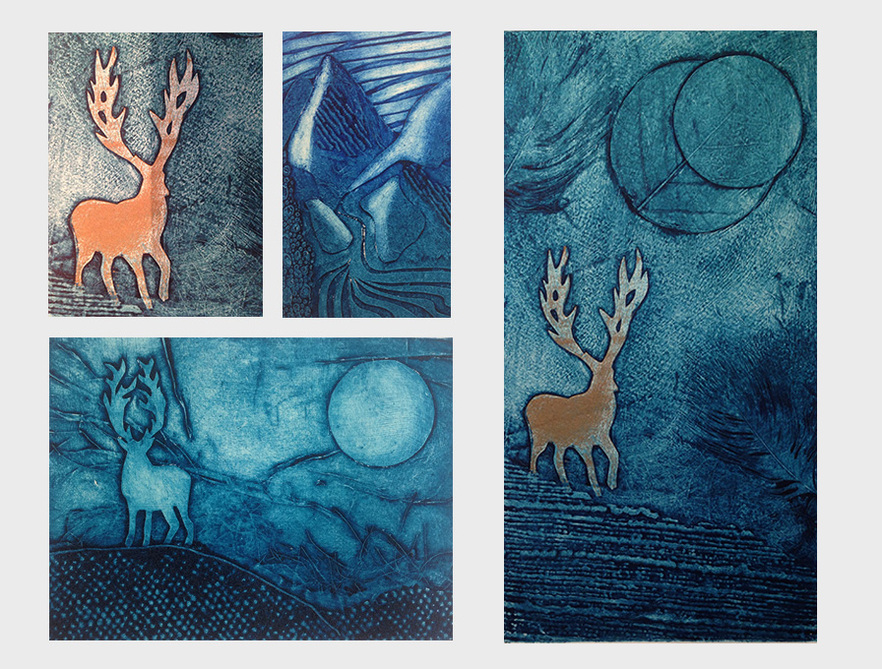
There are lots of techniques you can use to apply the colour - from layering on 2 different colours, to using a roller to add a layer of colour at the end, to chine-collee, where you place a different-coloured piece of tissue paper on top, glue side facing up, so that it will show through when the plate is printed. In fact it's a superb technique for experimenting, and I certainly had fun with it.
There are lots of techniques you can use to apply the colour - from layering on 2 different colours, to using a roller to add a layer of colour at the end, to chine-collee, where you place a different-coloured piece of tissue paper on top, glue side facing up, so that it will show through when the plate is printed. In fact it's a superb technique for experimenting, and I certainly had fun with it.
ET VOILA!
Run your plate through the press, not forgetting to register it on some acetate, and ensuring you've soaked the paper first.
Run your plate through the press, not forgetting to register it on some acetate, and ensuring you've soaked the paper first.

