Linocut @ The Art Academy
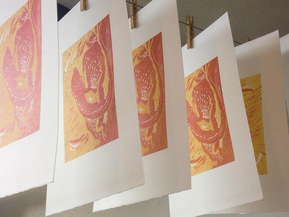
Wanting to try a new technique that was more experimental and a little less precise than etching, I took a weekly Linocut course in August 2014. Using Japanese wood tools, we carved out blocks of lino before inking up and running through a press.
INSPIRATION
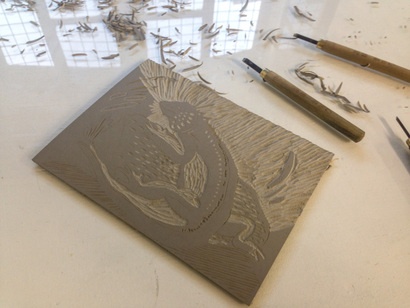
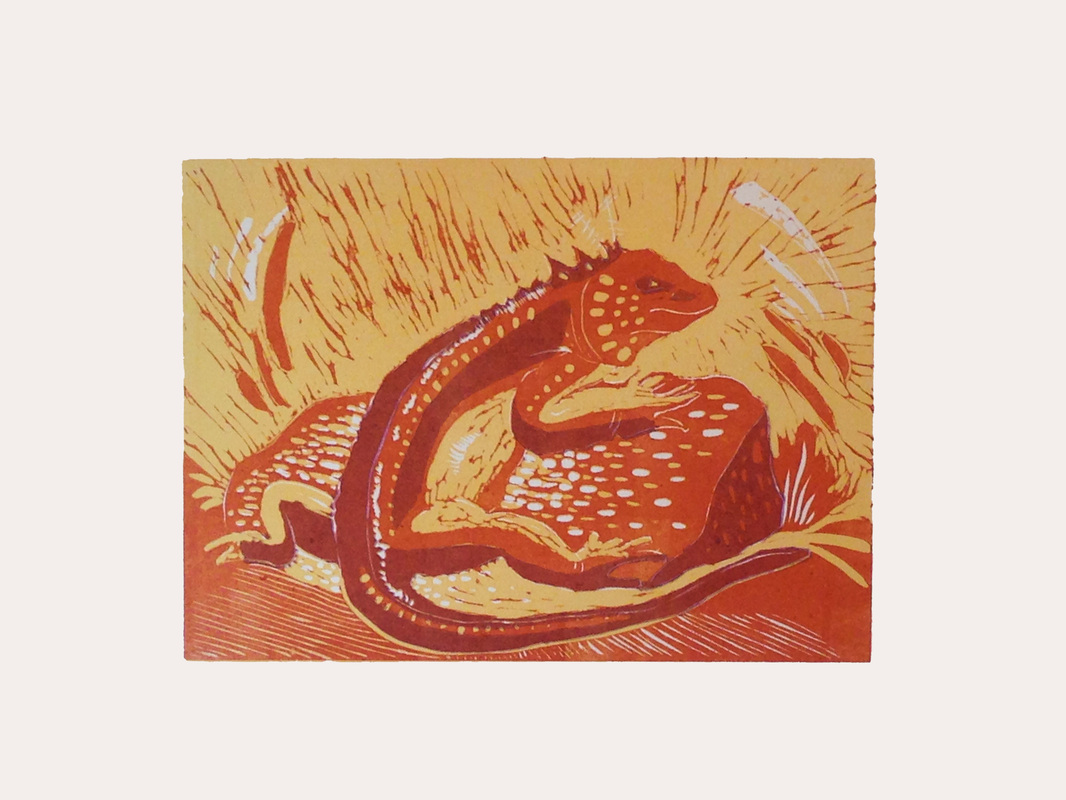
I recently watched David Attenborough's Galapagos and learning of the charcoal black Iguanas that have evolved to swim underwater, snatching seaweed from the rocky bottom and then spitting out the salt through their noses. Enough inspiration for you? I found a likely looking lizard on the web and set about drawing it onto my block of lino.
|
CARVING
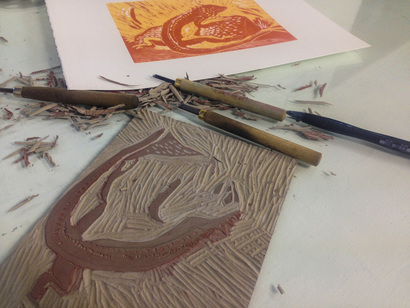
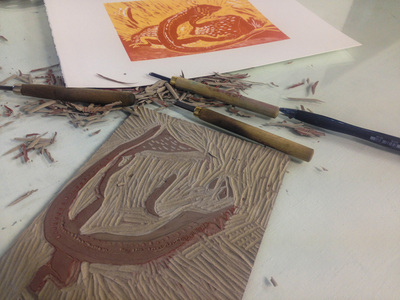
Using Japanese wood carving tools, we started cutting away at the image. It's a bit of a mental challenge as you have to try and think about 4 colours in advance, since you are going to layer colours on top of one another. The idea is to cut out the lino in the areas where you don't want ink to hit the page, and each time you've inked and printed one layer, you go back and cut out more of the image - a reduction technique. At the end, you finish up with no image left at all, so there's no going back if you don't like your design! |
INKING
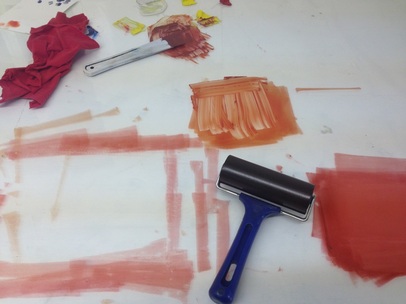
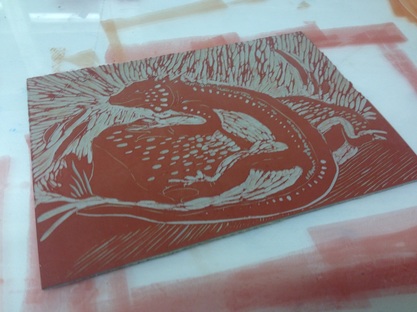
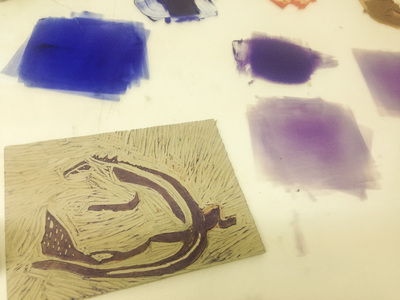
Using a roller, and a small amount of ink, simply roll out the ink onto the lino plate. The ink is layed on quite thin and so you have to go over it a few times to make sure it's even and hitting all parts of the image. It's also important to print the lightest colour first - in this case a very pale yellow that you could hardly distinguish from the page, before printing orange for the next layer, and finally purple for the shadows. Each time you overlay a colour, you're never too sure what it will look like once layered into the final print. |
PRINTING & REGISTRATION
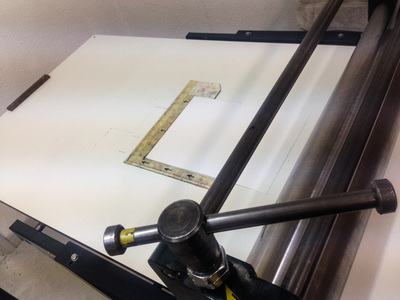
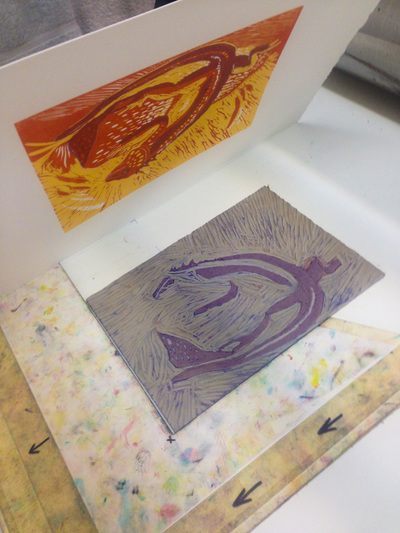
Each time you run the print through the press, it’s very important to make sure it's properly aligned, both to the last print, and to the paper. Luckily, Victoria had a corner already cut out with the marks on it - your lino goes into the corner square, and the paper is perfectly placed on top. Then the felt mat as usual, and finally you roll it through the press. Et voila - each colour fits exactly on top of the last, layering up your print into a 3 or 4 colour image. The last colour of mine was, surprisingly, purple with a lot of extender added to it. When it shone through the orange, it gave the iguana a brown colour - as if it was basking in the Australian sun.
Each time you run the print through the press, it’s very important to make sure it's properly aligned, both to the last print, and to the paper. Luckily, Victoria had a corner already cut out with the marks on it - your lino goes into the corner square, and the paper is perfectly placed on top. Then the felt mat as usual, and finally you roll it through the press. Et voila - each colour fits exactly on top of the last, layering up your print into a 3 or 4 colour image. The last colour of mine was, surprisingly, purple with a lot of extender added to it. When it shone through the orange, it gave the iguana a brown colour - as if it was basking in the Australian sun.
ET VOILA!
Well, the registration was certainly successful, and I like the final colour combo. The technique seems a little imprecise for my taste, however, so I'm not sure I'll be continuing with the lino any time soon. Still a fun course, as ever at the Art Academy.
Well, the registration was certainly successful, and I like the final colour combo. The technique seems a little imprecise for my taste, however, so I'm not sure I'll be continuing with the lino any time soon. Still a fun course, as ever at the Art Academy.

