Letterpress @ London College of Communication
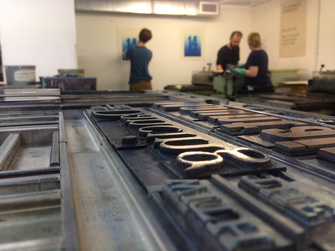
What a great thing to be living back in Europe after so many years away. The art and design culture is still alive and vibrant here, in contrast to a city like Hong Kong which is focused on other goals.
In June 2014 I took a 3-day Letterpress workshop at the London College of Communication (previously the London College of Printing). The tutor, Christian, gave us a great overview of typesetting and printing - who knew the process was so labour-intensive! It gave me a whole new appreciation of the pre-digital world, as well as bringing me back to the roots of graphic design.
Scroll down for an overview of the process...
|
TYPESETTING
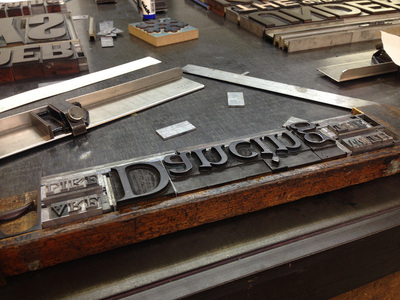
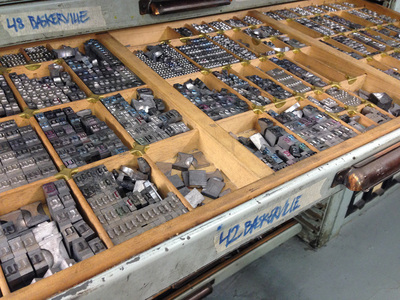
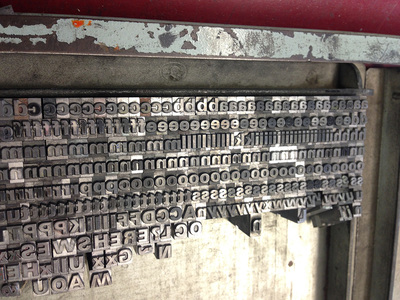
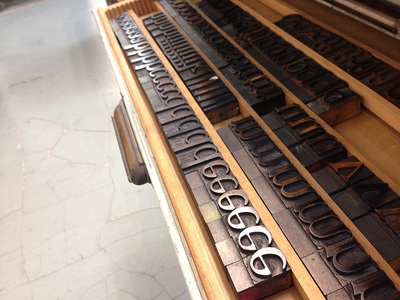
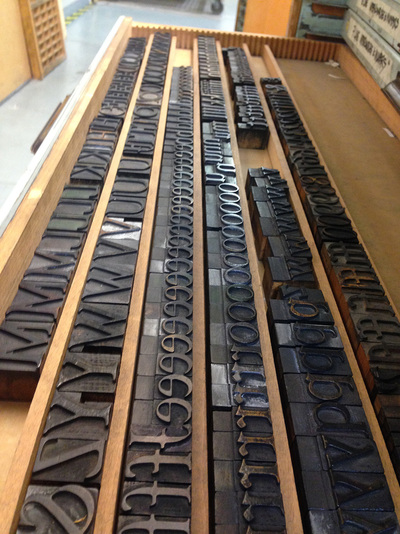
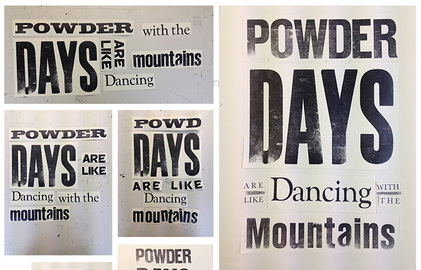
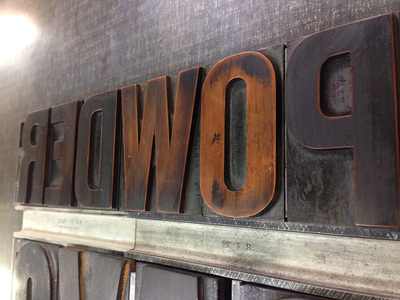
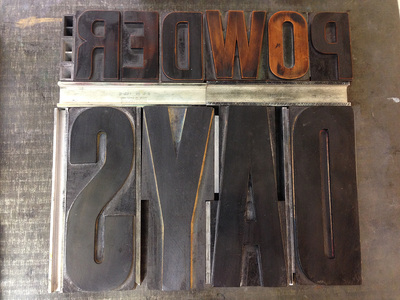
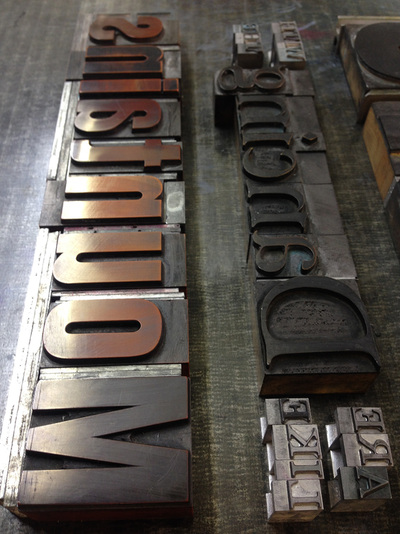
First you decide on the words you want to print. I went with 'Powder days are like dancing with mountains' to commemorate my awesome year off skiing the world. Then you need to go and put these words together. The workshop has drawers and drawers full of moveable type, all the tiny letters in their individual sections, with rows of Garamond, Baskerville, Courrier, 8pt, 12pt, 14pt etc all cast from lead, or carved from wood or plastic. |
|
MAKING FRAMES
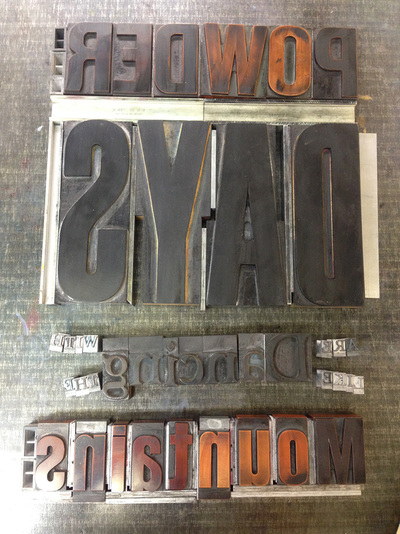
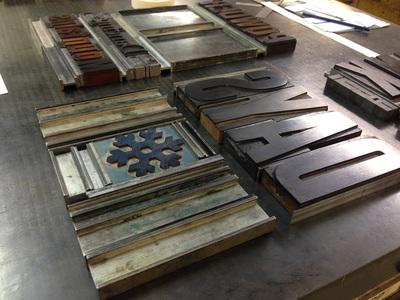
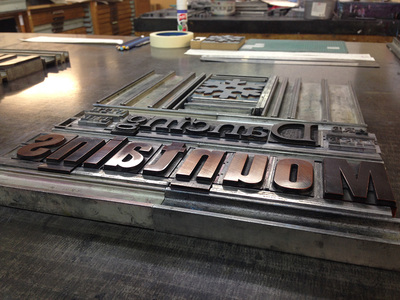
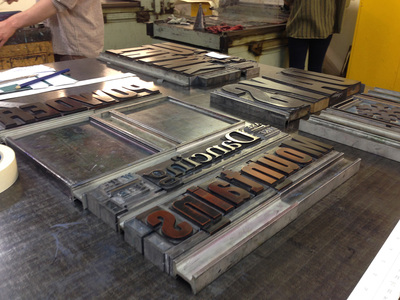
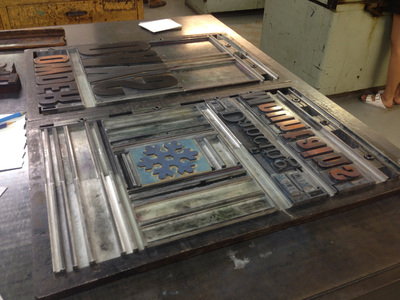
Once you have all your type together, it's time to build a frame. Again, all the white spaces have to be filled with spacers, until all your text is perfectly flush inside a metal jig. You should be able to lift the jig off the floor without any metal falling out - quite a feat when using such intricately small pieces. I felt it was like doing an enormous jigsaw puzzle where the final picture exists only in your head.
Once you have all your type together, it's time to build a frame. Again, all the white spaces have to be filled with spacers, until all your text is perfectly flush inside a metal jig. You should be able to lift the jig off the floor without any metal falling out - quite a feat when using such intricately small pieces. I felt it was like doing an enormous jigsaw puzzle where the final picture exists only in your head.
MIXING COLOURS
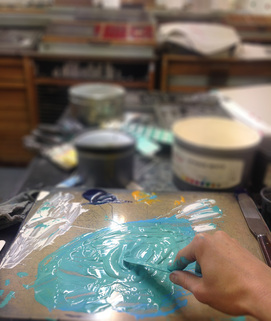
One of the hardest decisions was around which colours to use. There's no quick trial and error like you get on a computer - you had to make a colour decision and stick by your guns. Cleaning the rollers of colour takes about 20 minutes, so if you make a mistake, it's a lot of effort to fix it! I took a deep breath and went for silver and sea green - keeping cold colours for the snow and mountains.
TO THE PRESS...
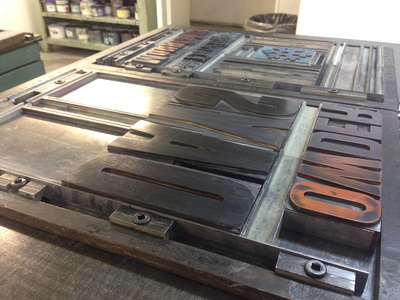
The last stage of the process is clamping down the frames to the bed of the press so they won't move about and ruin your registration. Once tight, you slap some colour on the rollers, run the press and put one page through it to see what it looks like. Then it's a matter of tapping letters down, or raising them up with bits of paper underneath so they're all exactly the same height. This is a lengthy process involving lots of un-clamping and re-clamping of your work on the press bed, making minute adjustments to correct the registration and print quality. It takes FOREVER! I can't believe people have done this for 400 years and not a computer in sight...!
ET VOILA!
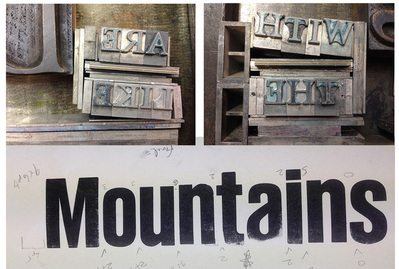
3 days of hard work later, and my final poster was on the racks and drying. I have about 20 copies, so message me if you'd like to buy one ;) I thought they came out rather well, with the toothed paper giving a powdery effect to the word 'powder' and the mask that I placed over the word 'mountains' giving the effect of a mountain range at the bottom. I deliberately chose a serifed typeface for the word 'dancing' to give it some freedom and movement. I even got the de-boss effect I was looking for when I first got to the course!
3 days of hard work later, and my final poster was on the racks and drying. I have about 20 copies, so message me if you'd like to buy one ;) I thought they came out rather well, with the toothed paper giving a powdery effect to the word 'powder' and the mask that I placed over the word 'mountains' giving the effect of a mountain range at the bottom. I deliberately chose a serifed typeface for the word 'dancing' to give it some freedom and movement. I even got the de-boss effect I was looking for when I first got to the course!

