Screen Printing @ East London Printmakers
Another day, another art class. This time, screenprinting at East London Printmakers. With only a vague idea of what the technique entails, I had been drawn to the results after seeing some of my classmates' work at RISD (10 years ago now!) and wanted some first hand experience of producing poster-scale colourful work.
INSPIRATION
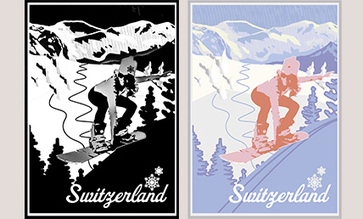
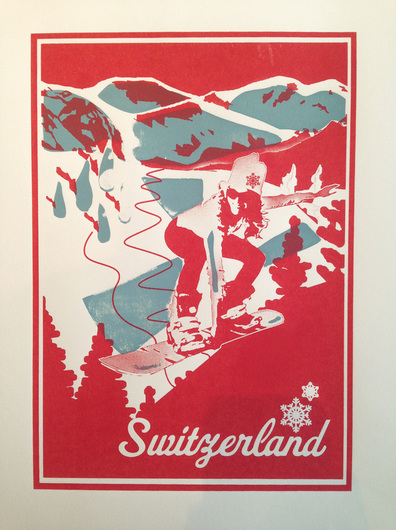
I've been off snowboarding for a year - what can I say? My inspiration was old ski posters of the 60s and 70s - naturally replacing the classic skier with a snowboarder!
INSPIRATION
I've been off snowboarding for a year - what can I say? My inspiration was old ski posters of the 60s and 70s - naturally replacing the classic skier with a snowboarder!
|
ALL THE KIT
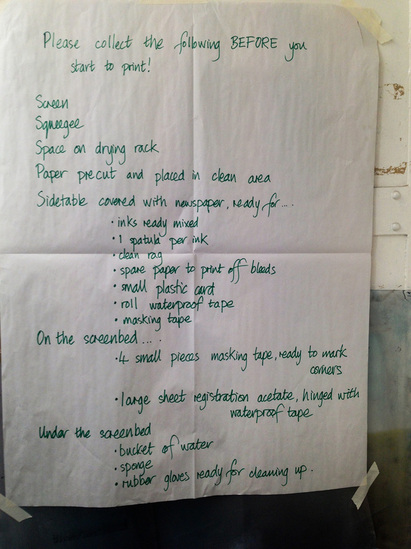
An inordinately large amount of preparation goes into screenprinting - I guess so that once you're set up, you can churn out images with no hitches. And the list is long of things you need to get going - in fact 98% of your time seems to be preparing everything - only 2% is for the actual printing! |
PREPARING THE SCREEN
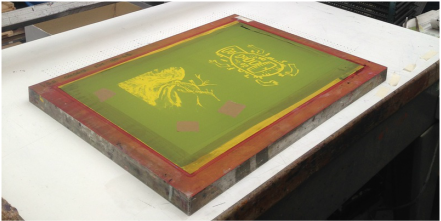
We started the course using acetate and various pens to create a black design on a transparent background. I had just been to the London aquarium, so sea dragons were on my mind - I decided to draw one of these out of black paint. The basic idea is to block out some areas so that light will not pass through the acetate. Before being able to print, you have to prepare a screen of nylon mesh. For this you need: a spatula, a credit card, a trough and a screen. The trough has to be smaller than the screens, and as they're all quite badly-designed, you need to make sure the ends are on properly. Fill the trough with emulsion that you've mixed earlier. This is light sensitive so you have to do it while in the darkroom. Tip the trough slightly so the paint just touches the screen, press hard against the screen and then pull upwards until you get to the top. Then take the card and scrape around the edges to make sure there are no drips. Leave this in the drying rack for a couple of hours until it's completely dry. (in the image below, the dark green is where the photo emulsion has dried on the screen). |
|
MAKING THE IMAGE
You can either use acetate, or print out a bitmap onto thin, cheap printer paper. It's important that the image is made up of 100% black and 100% white - no grey areas, as they will not expose properly. In photoshop, if you have a gradient, you can change the image into a bitmap, and so get the impression of grey. In order to make your cheap photo paper transparent, you have to paint cheap vegetable oil over your positive, and leave it for a couple of hours while the white disappears. |
EXPOSING THE IMAGE
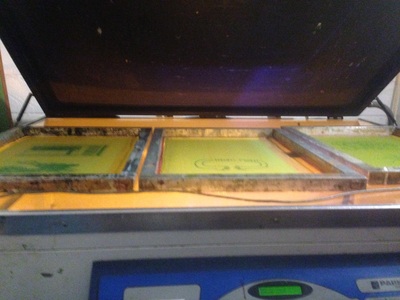
Once the screen is dry, t's time to expose your image onto it using a light bed. Place your acetate underneath the screen, and then close the lid of the exposure unit. Then suck the air out of the unit, using the vacuum pump. You need to choose a good exposure time - for more delicate images, you should use a shorter exposure time, to be sure you keep all the thin lines eg. 30-35 secs. For a stronger images (high contrast), you should use a longer exposure time - 40-45 secs is about average.
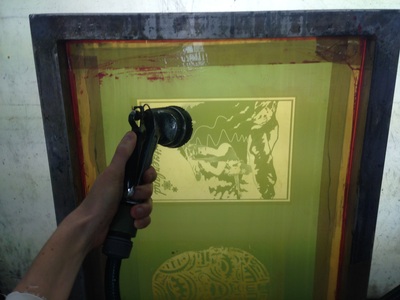
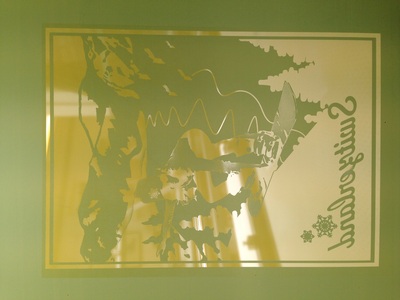
Once the buzzer goes off, carefully lift the lid, and ASAP take the screen to the wash station and wash out the image with a hose. Anywhere the screen has been exposed, the paint will stay strong. Where you image is, the paint will wash off and the screen will become transparent. This is where the ink will eventually squeeze through. Then you need to dry the screen before you start - use a hairdryer, pat down the surface with some newsprint, and use a cloth for the metal frame.
|
MIXING INK
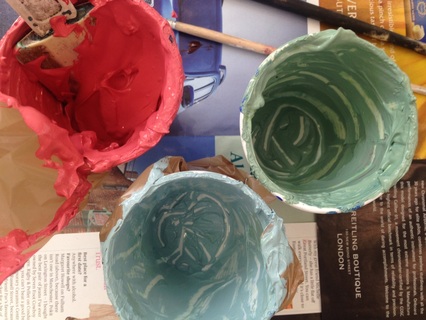
Screenprinting Ink is 50% acrylic, 50% print medium which has retardants in it to stop the ink drying and lets it bond to the paper. First you mix the colour you want, and then you add the medium to us. You need quite a lot of ink, because you don't want to run-out in mid-print. A good brand are 'Golden', 'Lascaux' and you can print varnish on top to make it shiny. PAPER You need at least 200 gsm for a 2-colour screenprint. Some good papers are stockwell cartridge, lambeth cartridge 300gsm, trugrain 140gsm (mark resist film), or somerset satin over 300gsm, which is good for 3 colours. |
|
THE PRINTING PART
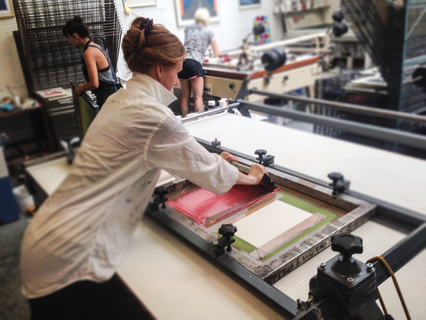
Not so easy to describe this part of the process. You need to clamp your screen into the press, image side down. With waterproof brown tape, make sure you've taped off any parts of the screen which you don't want ink to come through (any mistakes). Acetate registration is taped onto the bed, and you print one image onto the registration acetate to see where it will come out. Put your paper under the acetate in the position you want, then put masking tape next to the corners of the paper, to 'save' the position for next time. Clean the acetate. To print, place the paper in the registration corners, roll back the acetate, and switch on the vacuum suction. Take some dollops of ink and then with a squeegee, flood the screen with ink. Put the screen down onto the paper, and with 2 hands, pull the ink back over the screen, and quickly flood the screen again so that it doesn't dry out. Then lift and remove the paper. Repeat the process for all prints. |
ET VOILA!
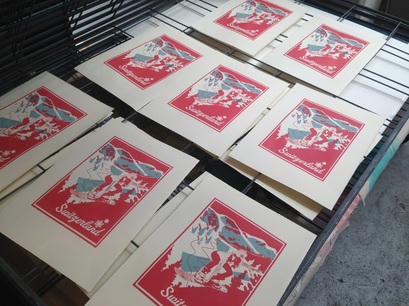
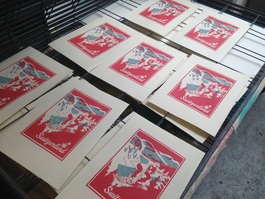
And there you have it - the first colour is printed. Then it's a case of cleaning EVERYTHING, and hosing down the screen, then placing this in the drying rack. For each colour, you have to do the same process, including exposing the screen, so this is a very labour-intensive work, just to print a 3 or 4 colour image. I enjoyed being hands on, and getting messy, though I couldn't help thanking my lucky stars at the end that printers have been invented...
And there you have it - the first colour is printed. Then it's a case of cleaning EVERYTHING, and hosing down the screen, then placing this in the drying rack. For each colour, you have to do the same process, including exposing the screen, so this is a very labour-intensive work, just to print a 3 or 4 colour image. I enjoyed being hands on, and getting messy, though I couldn't help thanking my lucky stars at the end that printers have been invented...

